Introduction
So, you want to embroider a hat. I completely understand the appeal. A beautifully embroidered cap can turn a simple outfit into a statement, a blank hat into a brand, or a hobby into a small business. But here is the honest truth that many online tutorials gloss over. Machine embroidering a hat is a different beast compared to working on a flat t-shirt or tote bag . The curves, the seams, the limited space—it all adds a layer of complexity that can be incredibly frustrating.
How to Machine Embroider Hats is a skill that is entirely learnable, and I am here to walk you through every step. This is your ultimate, no-nonsense guide for 2026, designed to save you from the common pitfalls that turn excited beginners into thread-tangled messes. We will cover everything from choosing the right cap and digitizing your design to hooping like a pro and fixing common problems. Forget the jargon and confusion. Let us get your machine ready and your hat looking flawless.
1. Understand the Unique Challenge of Hat Embroidery
First, we need to respect the challenge. The main reason hats are tricky is their surface. They are curved, structured, and often unforgiving. Unlike a flat piece of fabric that stays still under the needle, a cap’s front panel is a 3D object that is fighting to return to its natural shape .
You also have to consider the parts of the hat. You have the bill, the crown, the panels, and often a thick center seam. Digitizing for hats requires a "center-out, bottom-to-top" strategy to prevent the design from shifting or puckering . If you stitch from left to right, you will push a wave of fabric ahead of the needle, and your design will end up tilted. The goal is to start the design in the middle of the forehead area and work toward the sides, and start near the brim and stitch toward the crown. This distributes tension evenly and creates a stable anchor .
2. Pick the Right Hat, Hoop, and Stabilizer
Your success starts long before you thread your needle. You need the right materials.
Choosing Your Cap Type
Different hats require different strategies. Here is a quick breakdown of how structure impacts your approach, based on common hat styles .
Structured Baseball Caps: These have a stiff front panel that holds its shape well. They are firm and often need a compatible cap frame for support . Keep your design slightly below the center seam to avoid distortion.
Unstructured "Dad" Hats: These have no internal support and are floppy. They rely heavily on a strong stabilizer for structure. Center your design lower than usual to prevent collapse, as they are soft and can shift .
Trucker Caps: These have a foam front and mesh back. The foam requires special handling. Always digitize with a "knockdown stitch" underneath to flatten the foam before the main design is stitched . Avoid stitching on the mesh area, as it will not hold embroidery well .
Beanies: These are stretchy and curved, making them one of the hardest surfaces to embroider. Use a ballpoint needle to avoid damaging the knit, and keep your design small and simple to prevent distortion .
The Critical Role of Hoops and Stabilizers
Forget your standard flat hoop. For structured caps, you will likely need a specialized cap frame that fits your machine . These frames are curved to match the shape of the cap and provide a tight grip. For soft hats, you can sometimes "float" the hat by hooping only the stabilizer and adhering the hat with temporary spray adhesive .
Stabilizer is your foundation. If the stabilizer moves, your design will too.
Tear-away stabilizer is good for firm, structured caps that already have some body.
Cut-away stabilizer is a must for stretchy fabrics like beanies or unstructured hats, as it provides permanent support .
Water-soluble topping is a game-changer for beanies and textured fabrics, preventing stitches from sinking into the material and keeping them crisp .
3. Prepare Your Design and Machine Setup
With your hat and supplies ready, it is time to turn your attention to the design and the machine itself.
Digitizing is Not Optional
You cannot just put a JPG of your logo onto a USB stick and load it into your machine. The machine needs specific stitch instructions. Digitizing is the art of translating your artwork into a file format your machine can understand . The best file formats for hats are typically .DST, .PES, or .EXP .
For hats, the digitizing must account for the curve. This includes setting the right stitch density. Too dense, and the fabric will pucker . Too loose, and the design will look weak. As a rule of thumb, for small text under 6mm, use a looser density, and for larger shapes, you can go tighter . Unless you are an expert, consider hiring a professional digitizing service to avoid countless headaches .
Machine Setup and Hooping
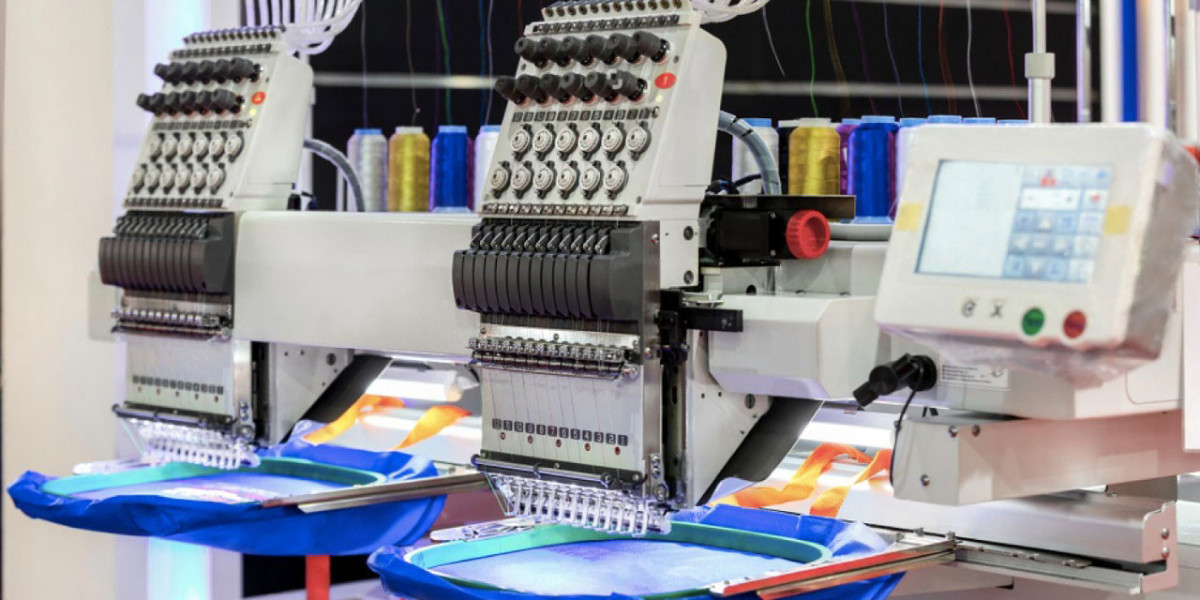
Needle: Use a fresh needle. A dull needle can deflect off thick stabilizers or seams, causing wobbly lines . For most caps, a 75/11 sharp needle is a great starting point .
Speed: Resist the urge to go fast. Especially as a beginner, start at around 600 stitches per minute (SPM) . High speeds can cause vibration, thread breaks, and poor registration on curved surfaces.
Hooping: This is the most critical physical step. To hoop a cap on a cap driver, pull the sweatband out and back, slide the cap onto the gauge, align the center seam, and pull the strap tight . The front panel should feel taut, like a drum skin. If you feel any looseness, the design will shift .
4. The Stitch-Out and Troubleshooting
Now for the main event. Load your design, lower the needle, and start stitching.
How to Handle the Stitch-Out
Watch the first few stitches carefully. If the fabric starts to crumple or the needle is hitting the frame, stop immediately. A common mistake is having the needle path too close to the bill or seams. Always use the "trace" function on your machine to check the stitching area before you start .
Tension is a delicate balance. If you see loops on the top of the fabric, your bobbin tension is too loose. If the top thread is pulling the fabric and causing puckering, the top tension is too high. Test on a scrap hat before you commit to the final product .
Common Problems and Fixes
Let us troubleshoot the most common hat embroidery issues, based on what experts see most frequently .
Problem: Design is crooked.
Cause: Poor hooping, fabric movement, or the design is not digitized with a center-out stitch order.
Solution: Re-hoop the hat securely and make sure the design is digitized for a curved surface .
Problem: Fabric puckering.
Cause: Weak stabilizer, stitch density too high, or the hooping is too loose .
Solution: Use a stronger cut-away stabilizer, reduce the density of the design, and tighten the hooping.
Problem: Thread keeps breaking.
Cause: Dull needle, poor-quality thread, speed too high, or the thread tension is too tight .
Solution: Replace the needle, slow down the machine, and re-thread the machine.
Problem: Small letters are unreadable.
Cause: The letters are too small for the material, or the digitizing is not suited for tiny details .
Solution: Enlarge the text or re-digitize the lettering with a center-run underlay to stabilize the stitches .
Conclusion
Machine embroidering hats in 2026 is a challenge, but it is a conquerable one. The key is in the preparation. By understanding the curve of a cap, preparing it with the correct stabilizer, and respecting the critical role of digitizing and machine setup, you can avoid the most common disasters that plague beginners.
Remember, there is no substitute for practice. Your first hat might not be perfect, and that is okay. Each mistake is a lesson. Focus on perfecting your hooping technique, and do not be afraid to invest in a professional digitizing service for complex logos. With patience and this guide by your side, you will be stitching crisp, professional-looking caps that you can be proud of. Happy stitching.